Custom Logos
Review your artwork, colours, dimensions and placement before production. Provide artwork approved for reproduction.
Bring your brand into the floor and make walkways, work zones and directions easier to recognize.
Epoxology Canada installs decorative floor logos, warehouse line markings and pedestrian walkway markings across the GTA and Southern Ontario. We review your layout, existing floor and daily operations to plan the materials, preparation and installation.
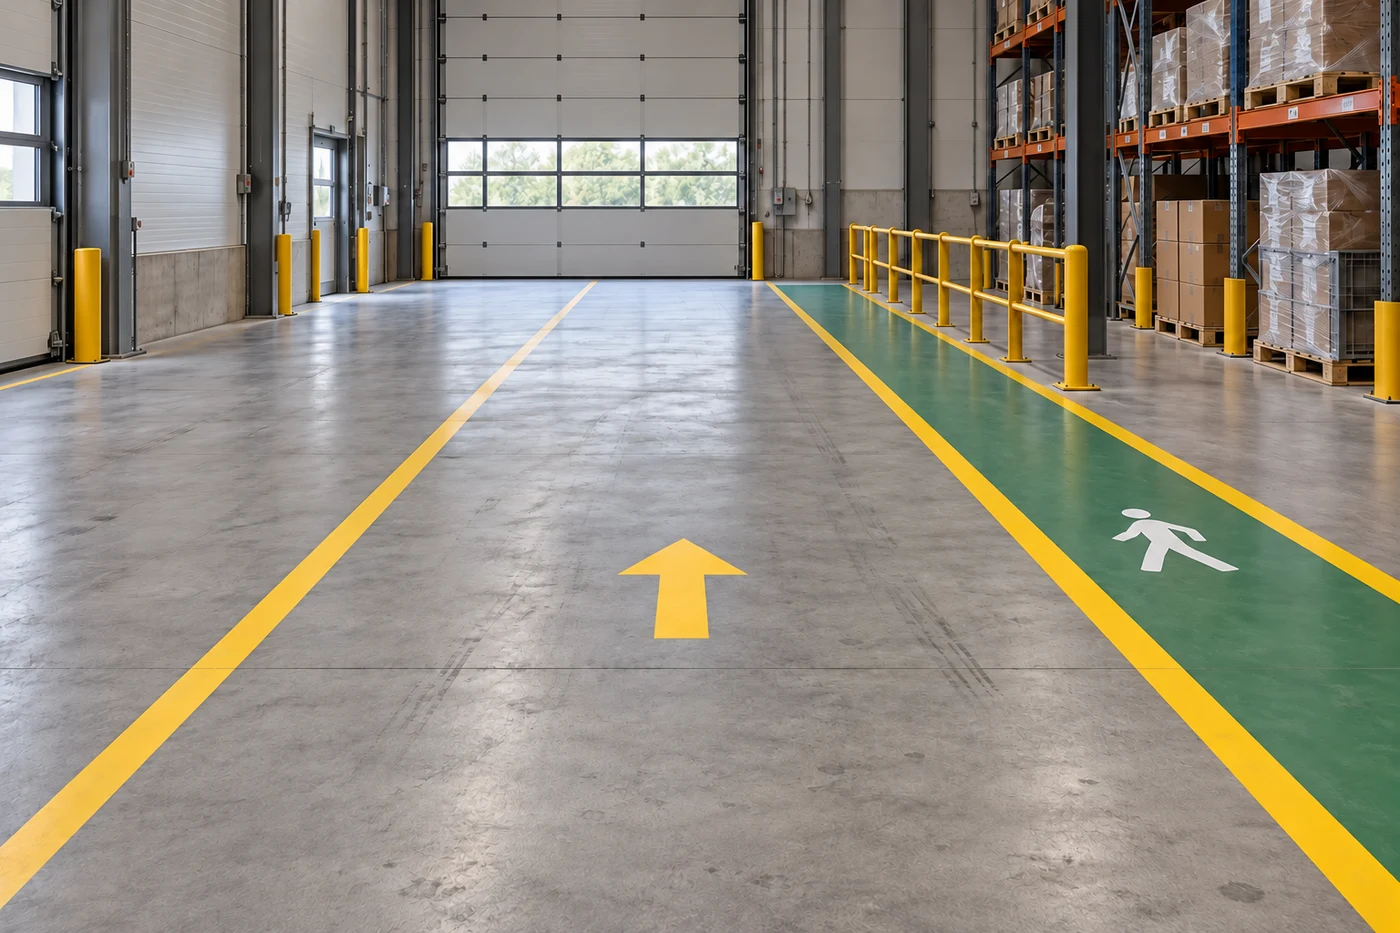
Make an entrance, showroom or customer-facing area feel like part of your brand. A floor logo can be coordinated with a new resinous floor or assessed as an addition to a suitable existing finish.
Review your artwork, colours, dimensions and placement before production. Provide artwork approved for reproduction.
Plan a focal point around sightlines, lighting, furniture and how customers enter the space.
Choose the graphic method and any protective finish around the floor system, traffic and cleaning routine.
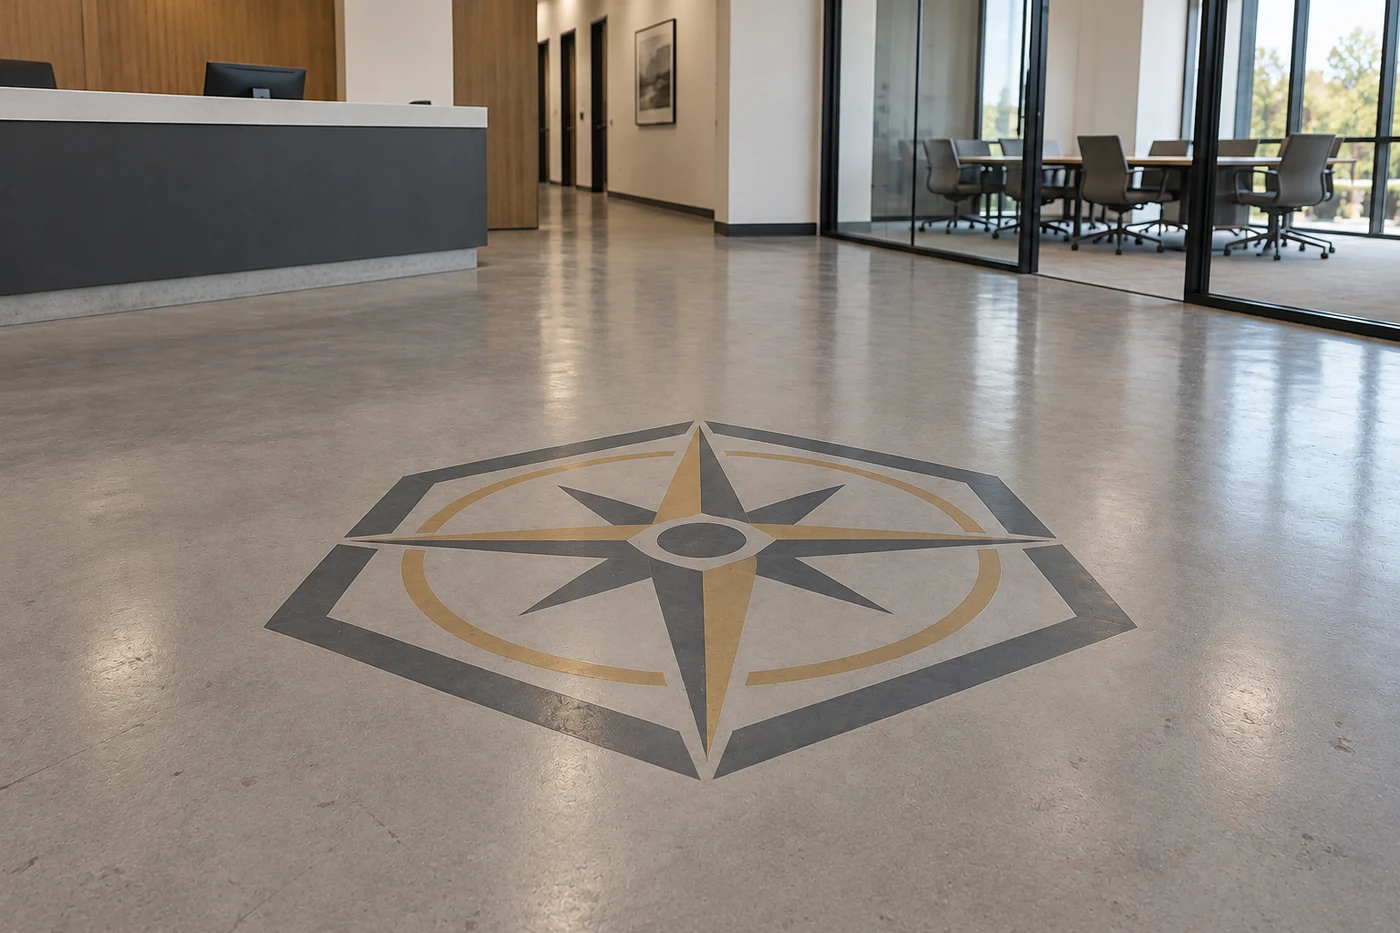
Make designated walking routes easier to recognize within the facility’s approved traffic plan.
Define equipment areas, staging locations, bay outlines and spaces that need to stay clear.
Coordinate directional arrows, bay numbers, symbols and wording with your team’s operating procedures.
Floor markings are one part of traffic management. They do not replace appropriate barriers, signs, training or the facility’s safety assessment.
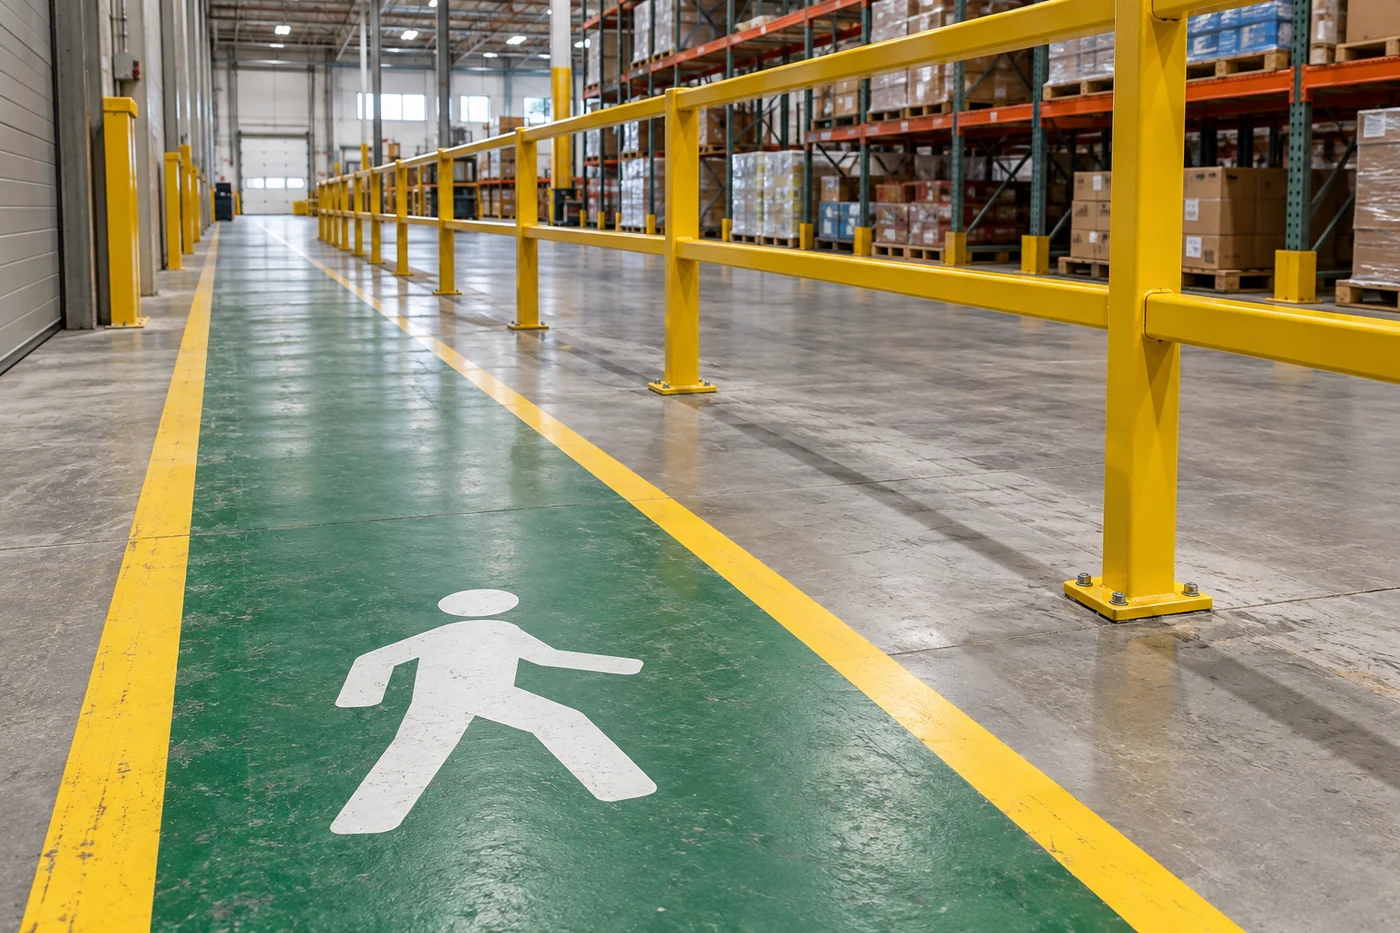
Identify routes, crossings, access points and working areas with the people responsible for your facility layout.
Confirm line positions, widths, colours, symbols, logo orientation and dimensions on an approved layout.
Assess surface condition, previous coatings, contamination and compatibility. A sound floor can still need preparation before markings are added.
Plan installation areas and curing windows around staff, vehicles, stock and equipment.
Confirm colours, symbols and layout with your facility team so the finished markings follow your site’s requirements.
Assess the floor, traffic, artwork and proposed marking locations.
Agree dimensions, colours, graphic details and installation boundaries.
Prepare the surface and apply the specified logo or marking system, with compatible protection where required.
Review the finished layout and confirm product-specific curing and care instructions.
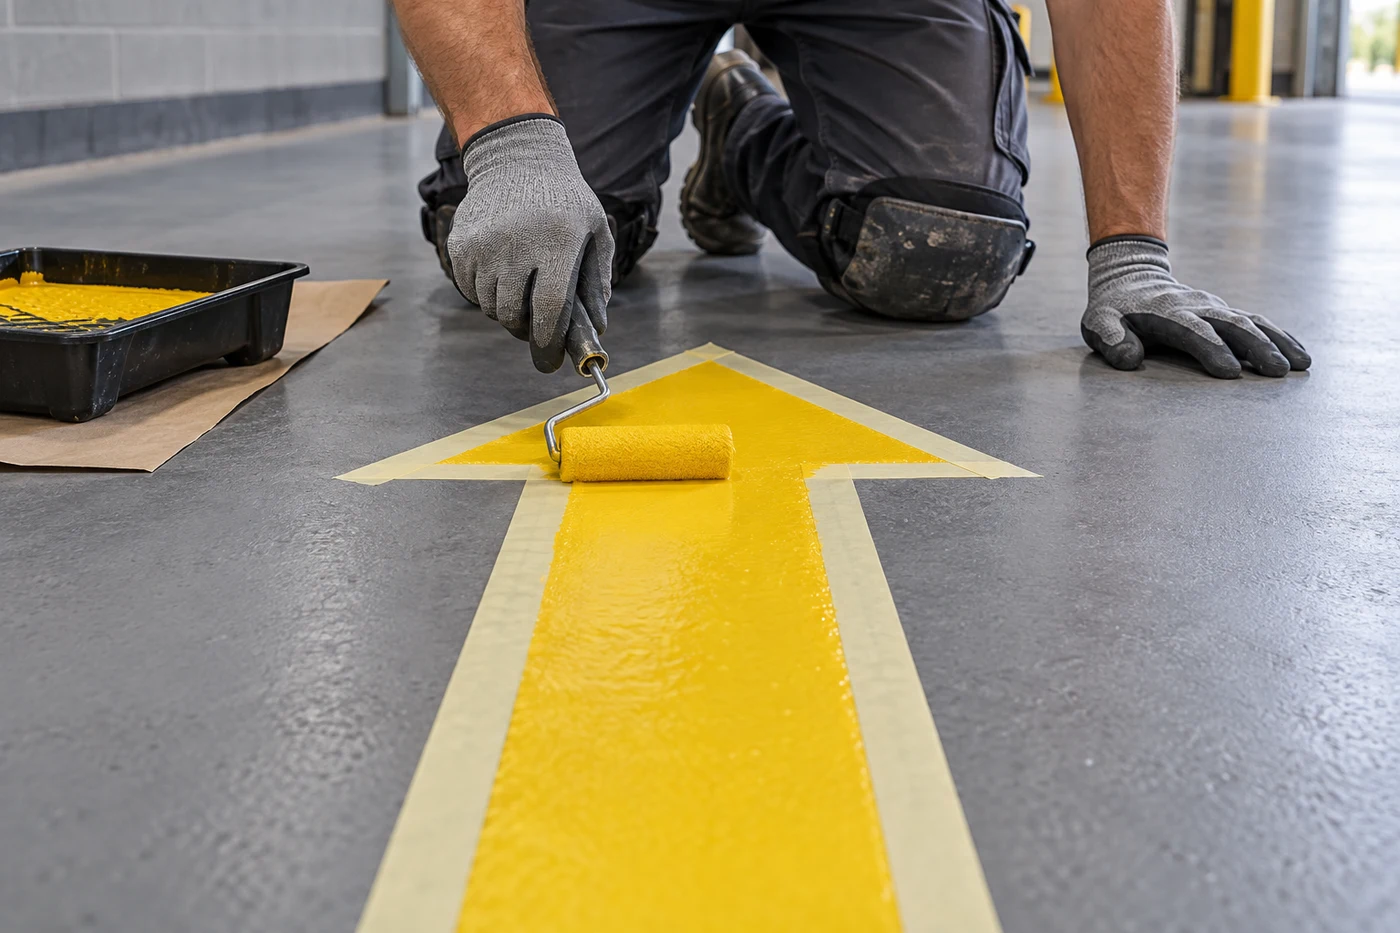
One possible approach places a graphic within a compatible floor coating assembly. Surface-applied marking systems can use a different build; the selected materials determine the sequence.
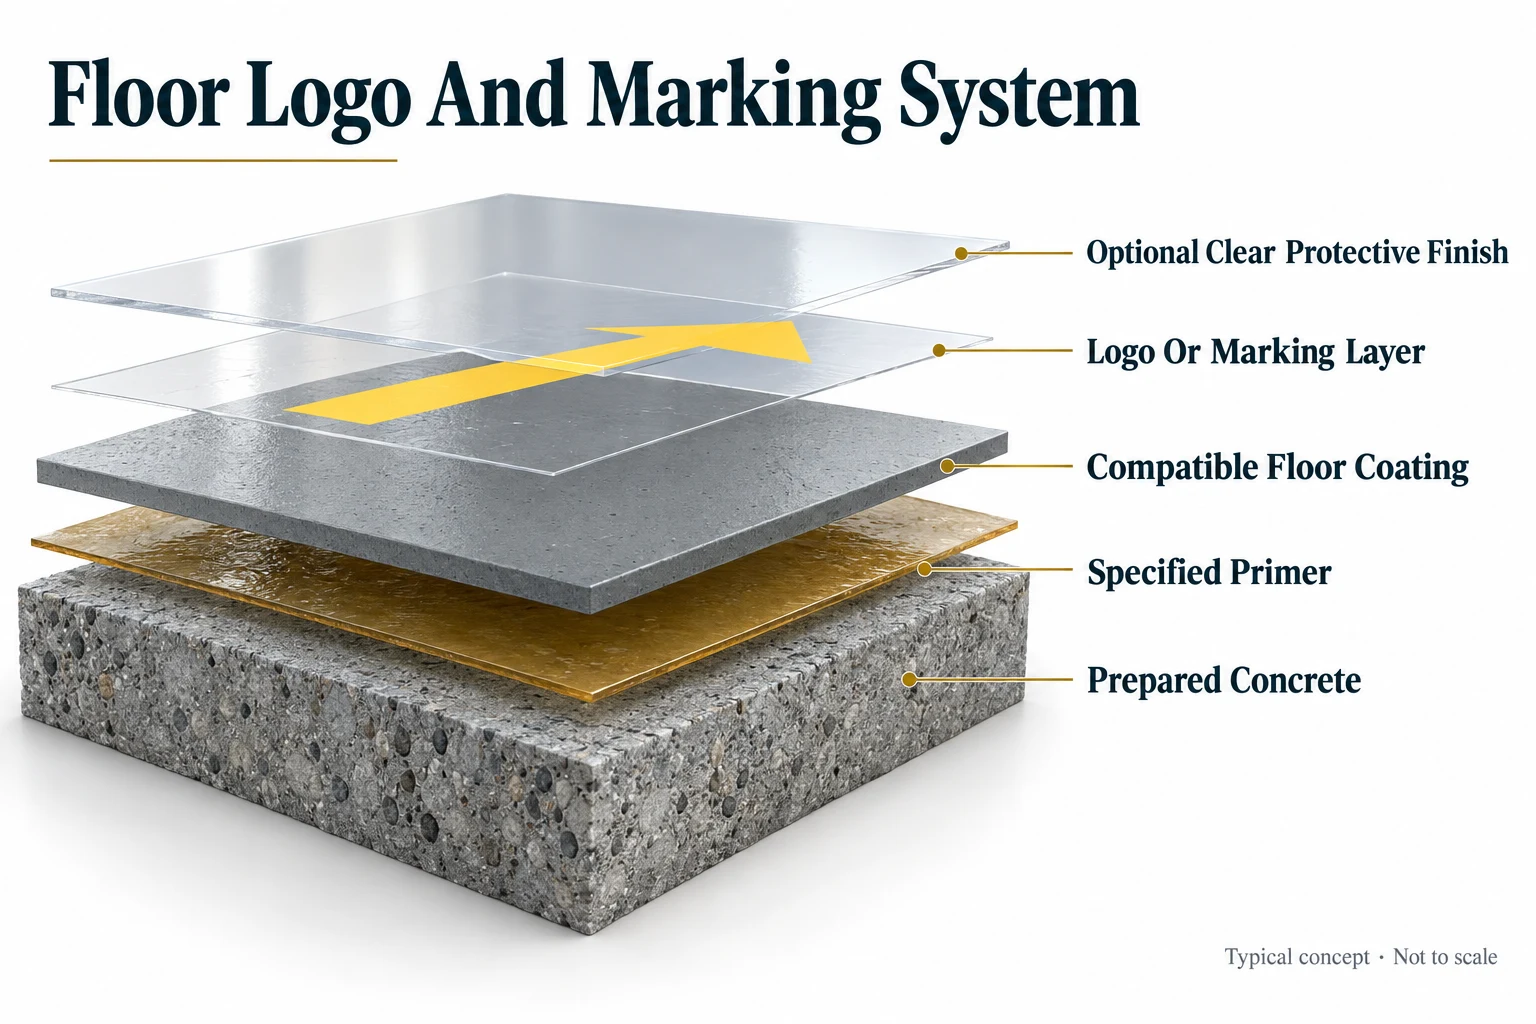
MVB means moisture vapour barrier. It is considered for the underlying floor system where testing and manufacturer requirements call for it—not automatically added beneath every logo or line. A suitable MVB may also provide priming; separate coats are used only where specified. The graphic method, protective finish and complete build require compatibility review.
Typical system concept, not to scale. Layer thicknesses and spacing are exaggerated for clarity. Products, coat count and details are confirmed in the project specification.
These references explain example system structures; they do not identify the products selected for your project.
Explore examples of court linework, lane boundaries and floor zoning. These finish references illustrate layout ideas; materials and project details are confirmed separately.

Service life depends on substrate, preparation, materials, traffic and maintenance. Product selection and any warranty belong in the written project scope.
The existing coating, bond and surface condition need assessment. Preparation, a compatibility test or recoating may be required.
No. The method depends on the selected graphic and coating system. A compatible protective finish may be specified, but not every marking requires a clear coat.
Share a clear copy of your approved design and its intended size. Vector artwork and colour references can help with production; artwork suitability is checked before installation.
Markings alone do not establish compliance. The facility’s responsible team must coordinate the layout with its risk assessment, traffic controls, signs and operating procedures.
We assess the old markings and floor finish first. Removal, preparation and a compatible replacement system are included where needed.
Area size, preparation, product cure and site conditions determine the work window. Access and return-to-use timing are confirmed for the project.
We serve commercial and industrial projects across the GTA and Southern Ontario, including Stoney Creek and these communities.
 Elegance Meets Durability
Tell us your city, facility use, existing floor finish and the logos or markings you need. Mention approximate dimensions, available artwork, traffic and preferred work windows.
+1 (905) 840-8405
sales@epoxology.ca
Any applicable warranty and its conditions are stated in your written project agreement. View flooring warranty details.

